I found my dream dress at a little boutique shop in South Florida . . . there aren't very many wedding dress shops on the west coast of Florida, and I didn't want to drive all the way to Miami or Tampa to go shopping. So I was extremely blessed to find my dress at the first shop I went to.
I initially thought I wanted a dress that was all lace with a slight mermaid/A-line feel. As you can see, I ended up with a more ballgown-esque dress . . . but as soon as I tried it on, I knew it was the one! I loved all of the lace detailing (which I intend to use when I create baptismal gowns for my future children). I also knew that the dress would need a few alterations: raise the neckline; add wider straps; bustle points; taken in at the sides.
A dear friend of mine offered to have a tailor friend of hers make a custom-tailored jacket for the ceremony (in a Catholic wedding in the Tridentine Rite, shoulders and back must be covered, and the bust line must be modest.) Her tailor also took in the dress on the side, so it fit much better. He also attempted to do the bustle points necessary; however, I ended up taking them out and redoing them myself.

Here's why. Her tailor used hook & eye clasps that didn't really blend with the dress and weren't very strong. I bought some ivory buttons at JoAnn's and used the spaghetti straps from the dress to make the loops. It took a few tries to get the bustle points in the right place . . . especially since I was trying the dress on myself, guesstimating where the points should go, and then testing my theory while the dress was hanging on my door.

I was quite pleased with the end result. The buttons match the dress, and the loops blend into the train much better. And I was no longer concerned that the bustle points would come detached during the reception if someone managed to step on my hemline.

My friend's tailor also made beautiful straps for the dress since I didn't want to wear the bolero for the entire reception. However, Part Two of the alterations was fueled partially by my priest's request that I raise the neckline a bit more and partially because I felt extremely exposed with just the straps and nothing else on my back.
I went back to the drawing board, brainstorming a way that I could make the neckline more modest without destroying the original charm of the sweetheart neckline. As I was scouring Pinterest, I also began searching for a way to add a more "substantial" top to the dress since my back felt so exposed with just straps.
My final inspiration came from these gowns:


I also scoured the internet and Pinterest looking for a sample pattern for making such an illusion neckline, but to no avail. Thanking my lucky stars that my mother taught me how to sew at a young age, I began sketching a prototype pattern. Taking measurements of oneself is a tricky business, and I highly recommend having someone help you if you can. If not, it's possible to do it yourself . . . just tricky.
Once I had my sketch in place, I went to JoAnn's with my wedding dress searching for a netting/tulle that matched the dress as closely as possible. Again, I was extremely blessed to find an illusion fabric (on sale, no less!) that matched perfectly and lace that matched the appliques already on my dress. Armed with my lace and several extra yards of tulle (in case of error on the first try), I returned home.
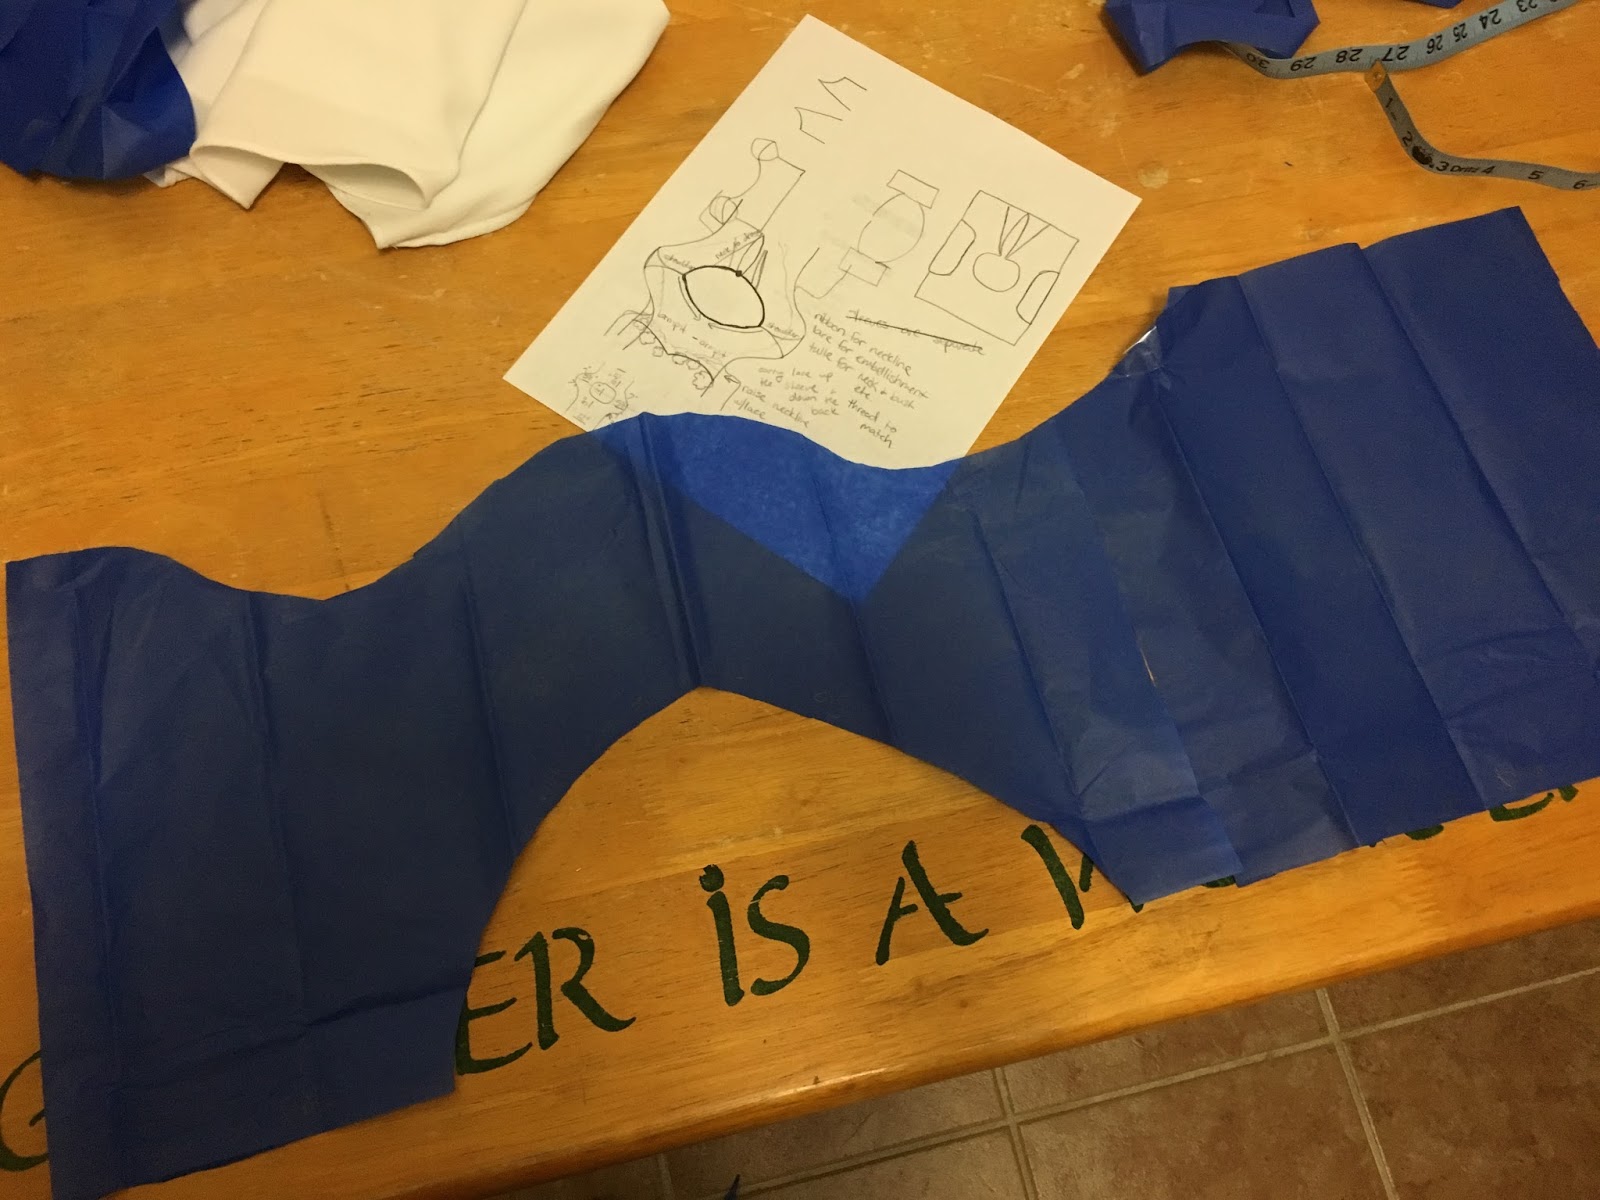

 My next step was raising the neckline on the dress . . . specifically the dip of the sweetheart. To do so, I found some beautiful lace that matched my dress and stitched it directly into the neckline. I also tacked it to the illusion neckline once I was done stitching that into the dress proper.

Once I finished the neckline top, I began stitching it into the dress itself. Again, more approximate measuring to make sure I stitched in the right place (this project would have been much easier with a sewing mannequin.) When I finished adding the neckline to the dress, I was quite pleased with the end result.
 |
| I was extremely pleased with my end result. The neckline looked like it was part of the original dress. |
 |
| Don't mind the unfinished lacing . . . lacing up a wedding dress by oneself is extremely difficult . . . but you get the idea. |
All told (since my friend generously paid for the initial alterations and bolero as a wedding gift) I spent about $40 and 5-10 hours on my personal alterations. I know sewing isn't in everyone's bag of tricks, but with a little trial and error, you can do it! And if you're budget-conscious, this is much more cost-effective than hiring a tailor or seamstress. I anticipate posts in the future featuring more of my sewing experiments.
Have you done similar alterations? Other sewing projects? I'd love to hear about them in the comments!